
Transferring files from an iPad or iPhone to a Windows PC might seem daunting at first, but with the right tools and hacks, it’s a breeze! In this post, I’ll share a simple trick that allows you to seamlessly transfer files from your iPad/iPhone to your Windows PC. This guide will help you bridge the gap between your Apple and Windows devices, making file transfers quick and easy. Let’s dive into the steps and make your cross-platform experience smooth and hassle-free!
Transfer Files from iPad/iPhone to Windows PC
Transferring files from your iPad or iPhone to your Windows PC is straightforward with the right tools and hacks. Follow these steps to move your data effortlessly:
1. Install Apple Devices Software
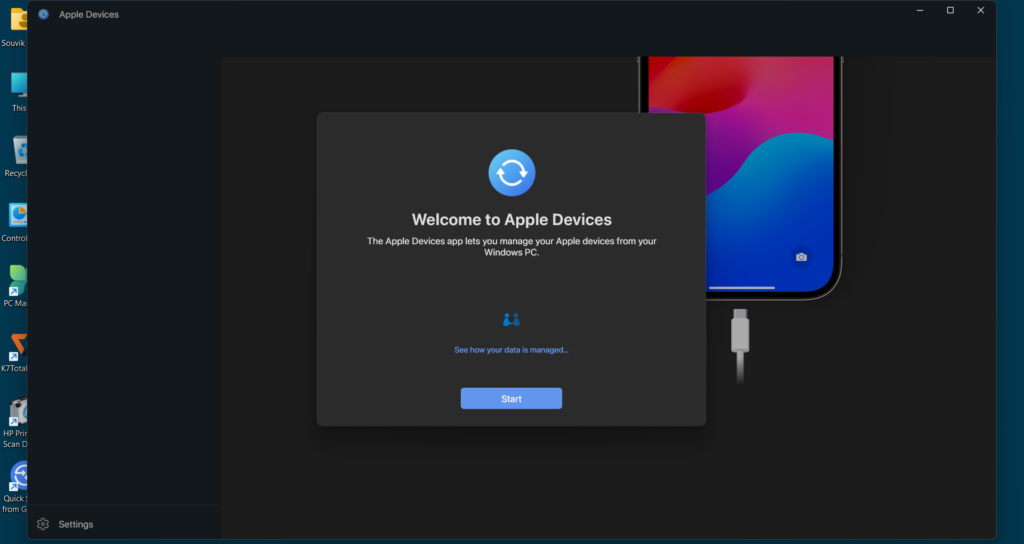
First, download the “Apple Devices” software from the Microsoft Store on your Windows PC. After installation, agree to the Terms & Conditions. Upon opening the app, you’ll see a welcome dialogue box. Click the “Start” button,
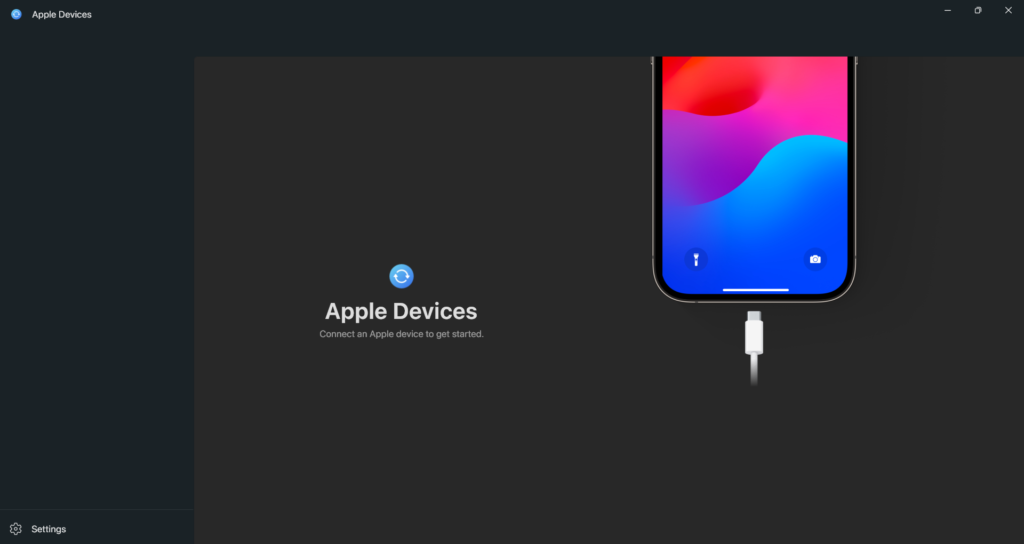
which will prompt you to connect your Apple device.
2. Connect Your Apple Device
Connect your iPad or iPhone to your Windows PC using a USB cable. If it’s your first time connecting the device, a dialogue box will appear asking you to trust the device. Be sure to select “Trust” on both your PC and the Apple device to establish a secure connection.
3. Accessing Files
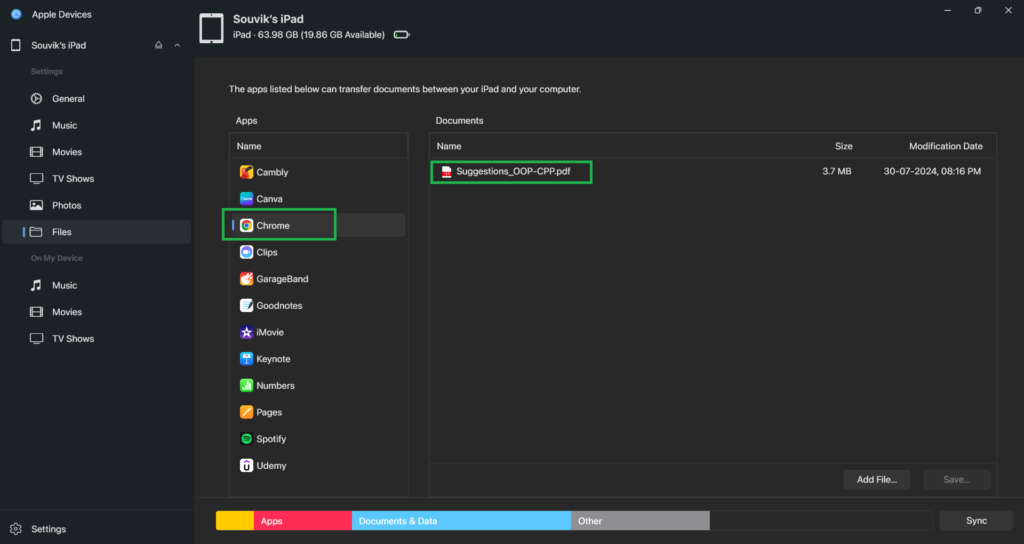
Once connected, navigate to the “Files” option under settings in the Apple Devices software. Here, you’ll see a list of apps that support file transfer between your Apple device and your Windows PC. Although the default “Files” app of the Apple device isn’t listed here, you can still transfer files using other apps.
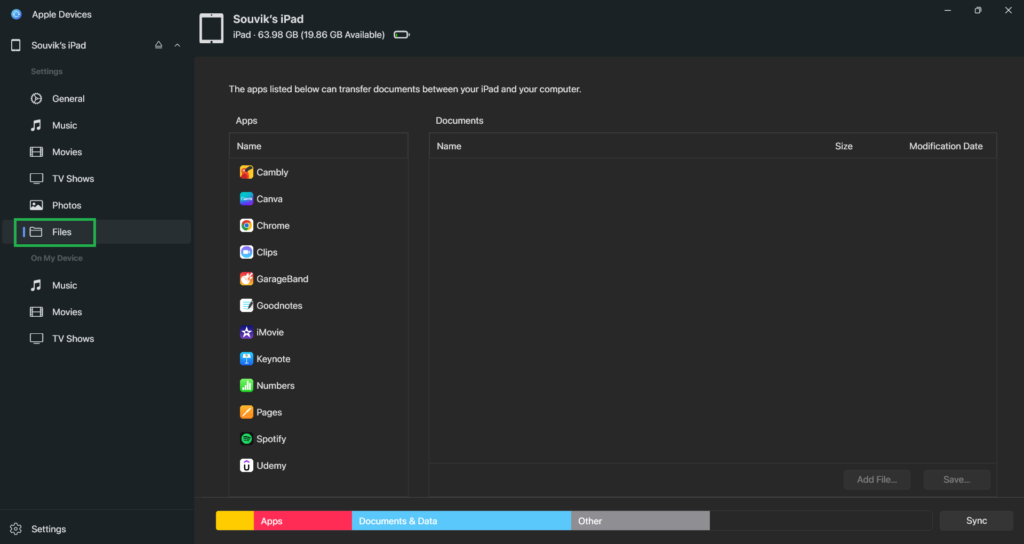
For example, if you’re using Google Chrome, you may see documents stored in the Chrome folder on your iPad/iPhone.
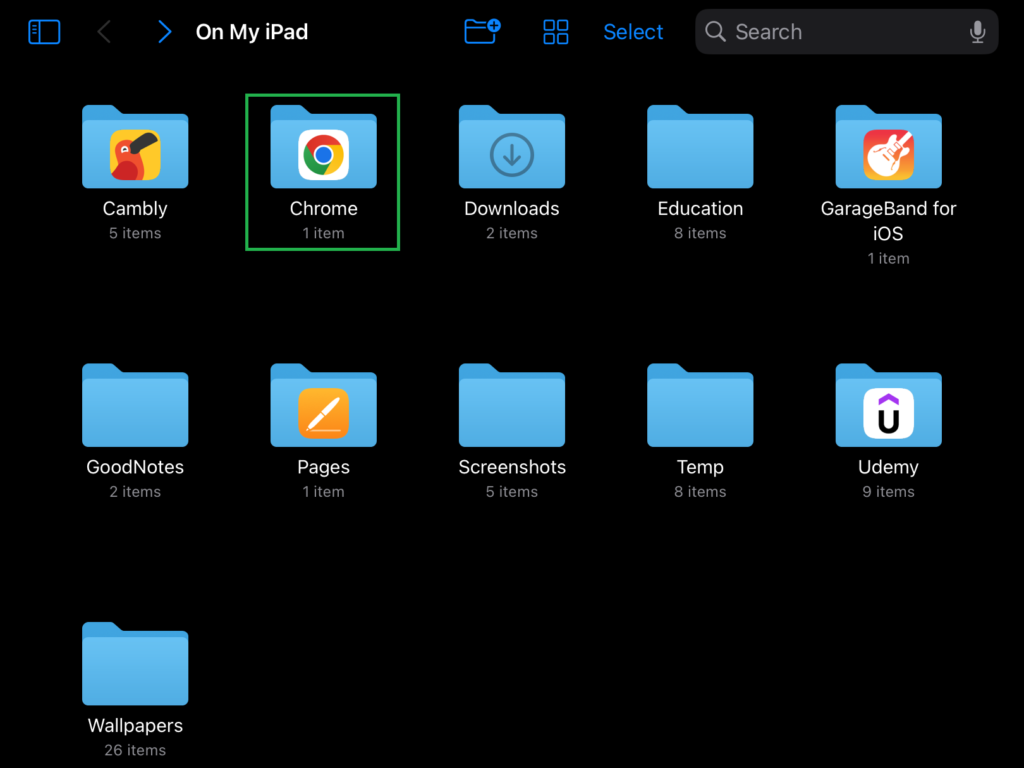
When I open the Chrome folder on my iPad, you can see that currently there is only one file available.

Similarly, when I select the Chrome option in the Apple Devices software on my PC, the same file is shown here.
To transfer files, open the Files app on your iPad/iPhone, navigate to the desired location, and copy the files or folders you want to transfer. For instance, here I copy a folder named “7th Semester” from another folder and paste it into the Chrome folder on my iPad.
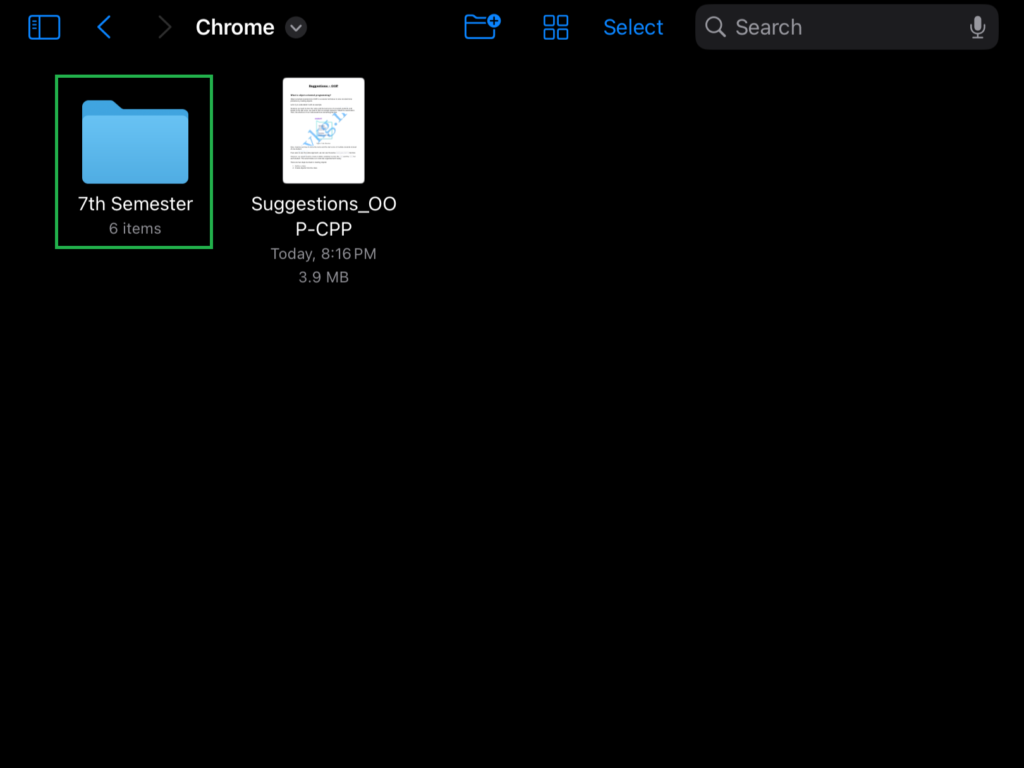
This way, the file or folder will be available for transfer.
4. Reconnect and Transfer
After adding files or folders to the Chrome folder on your Apple device, the files or folders may not instantly appear in the Apple Devices app on your PC, even if you click the “Sync” option. This seems to be a bug that will likely be fixed in future updates. For now, you need to reconnect your Apple device to your PC. Then, navigate to the “Files” option under settings, select “Chrome,” and you should see the newly added files or folders.
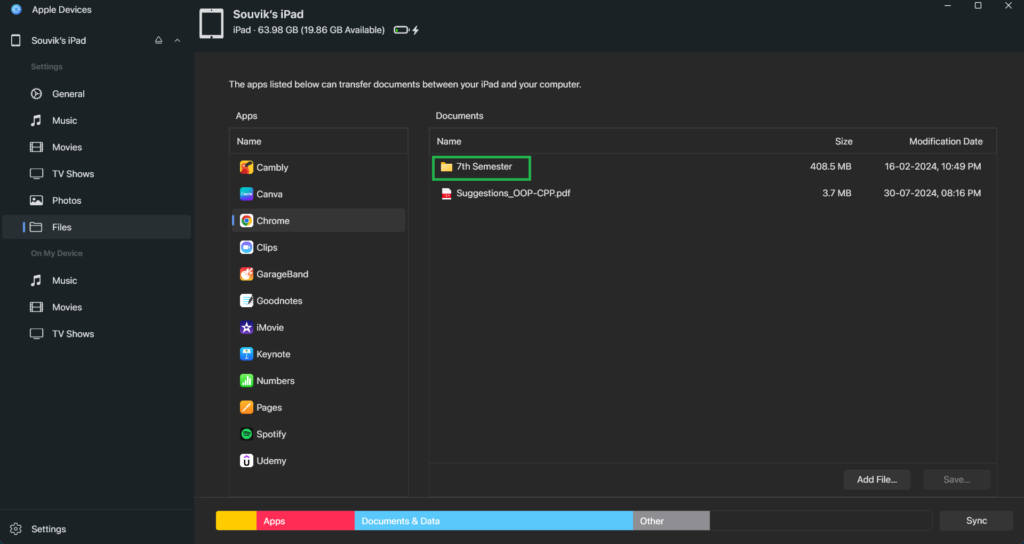
Choose the files or folders you want to transfer, click on the “Save” option, and select the destination folder on your PC. For example, I selected the folder named “7th Semester” and stored it in the “Demo” folder on my PC.
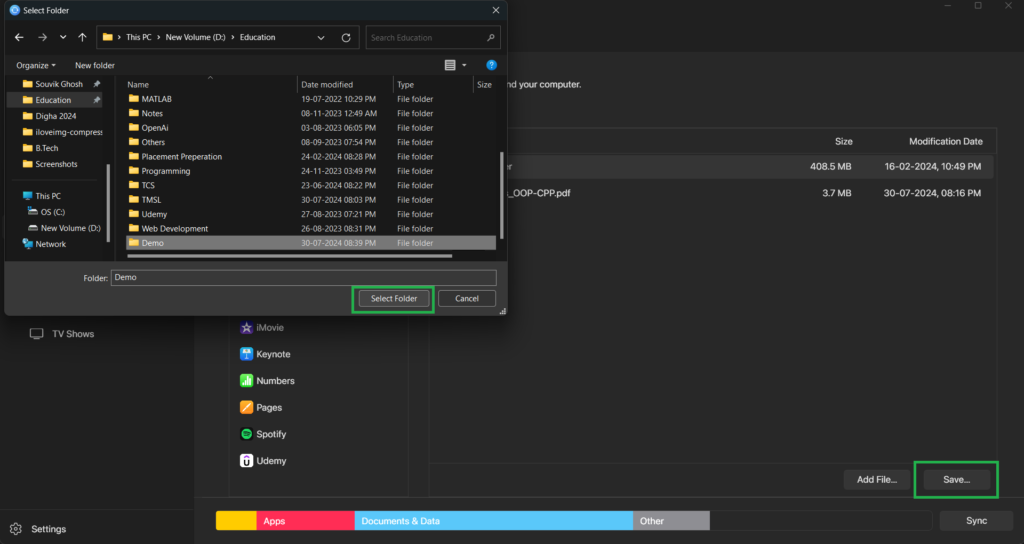
As You can see the “7th Semester” folder has been successfully transferred to the Demo folder on my Windows PC.

Learn how to transfer files from a Windows PC to an iPad/iPhone